
Discovery Mindblown Microscope Set: A Comprehensive Guide
This guide details the Discovery Mindblown microscope set’s features, offering instructions for safe operation and exploration. It covers setup, component usage, and troubleshooting for optimal viewing.
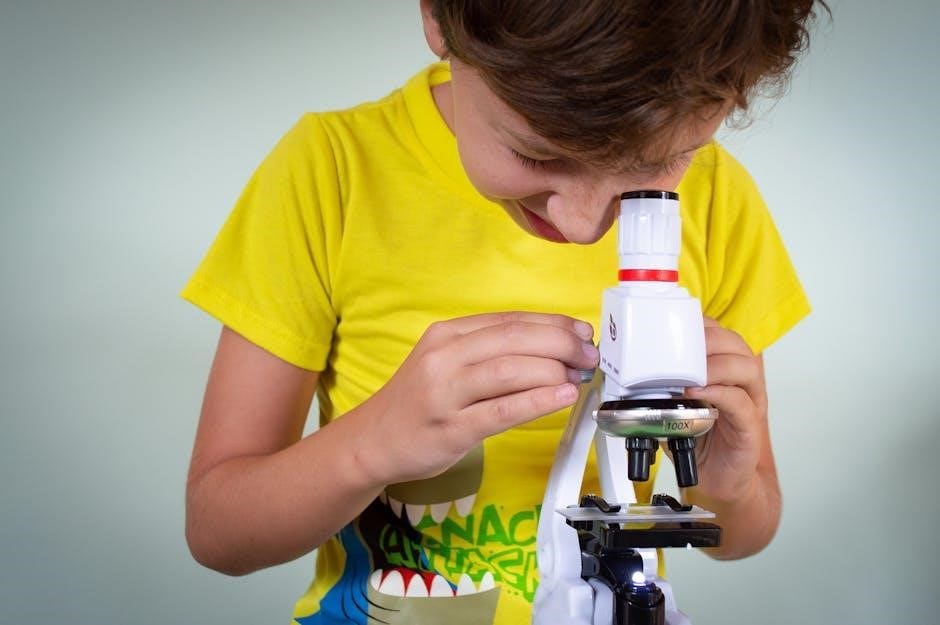
Welcome to the fascinating world of microscopic discovery! The Discovery Mindblown Microscope Set is designed to ignite curiosity and provide a hands-on learning experience for budding scientists. This kit allows exploration of the unseen world, from the structure of everyday objects to the intricacies of biological specimens.
This microscope boasts 900x magnification power, offering detailed views of samples. It’s equipped with a range of features, including multiple objective lenses (5x, 20x, 45x), a colour filter wheel for enhanced visibility, and a built-in illumination system. The set also includes prepared and blank slides, along with essential tools for sample preparation and observation.
Important Note: This microscope is not a toy and requires careful handling. It is not suitable for children under 3 years of age due to small parts and functional sharp points. Adult supervision is recommended during use. This guide will walk you through the setup, operation, and maintenance of your new microscope, ensuring a safe and rewarding scientific journey.
Safety Precautions & Warnings
Prioritizing safety is crucial when using the Discovery Mindblown Microscope Set. This kit contains small parts that pose a choking hazard for children under 3 years of age. Adult supervision is mandatory during all stages of operation and experimentation.
The included tools – tweezers, scalpel, pipette – have functional sharp points and require careful handling to prevent injury. Always use these tools responsibly and avoid pointing them towards yourself or others. Never attempt to disassemble the microscope beyond the instructions provided.
Battery Safety: Do not mix old and new batteries, or different types of batteries (alkaline, standard carbon-zinc, or rechargeable). Incorrect battery installation can cause damage or leakage. Ensure the battery case is securely closed. Avoid exposing the microscope to excessive moisture or extreme temperatures. Always disconnect the power source when not in use or during cleaning.
Unboxing and Component Identification
Carefully unpack your Discovery Mindblown Microscope Set and verify all components are present. The kit includes the microscope itself, featuring an eyepiece (1), focus knob (2), stage (3), metal stage clips (4), colour filter wheel (5), objective (6), objective turret (7), illumination switch & mirror (8), rubber base & battery case (9), and microscope arm (10).
Alongside the microscope, you’ll find five prepared slides and seven blank slides (11) with a slide case, eight slide covers/labels (12), three collection vials (13), a test tube (14), a petri dish (15), and a set of tools: tweezers, scalpel, pipette, stirring rod, and spatula (16).
Familiarize yourself with each part’s location and function before proceeding. Refer to the included diagram for visual identification. Ensure no components are damaged during shipping. If anything is missing or broken, contact customer support immediately before attempting to assemble or operate the microscope.

Microscope Components – Detailed Breakdown
Explore each part of the Discovery Mindblown microscope, from the eyepiece to the illumination system. Understanding these components unlocks optimal viewing and experimentation capabilities.
Eyepiece Functionality
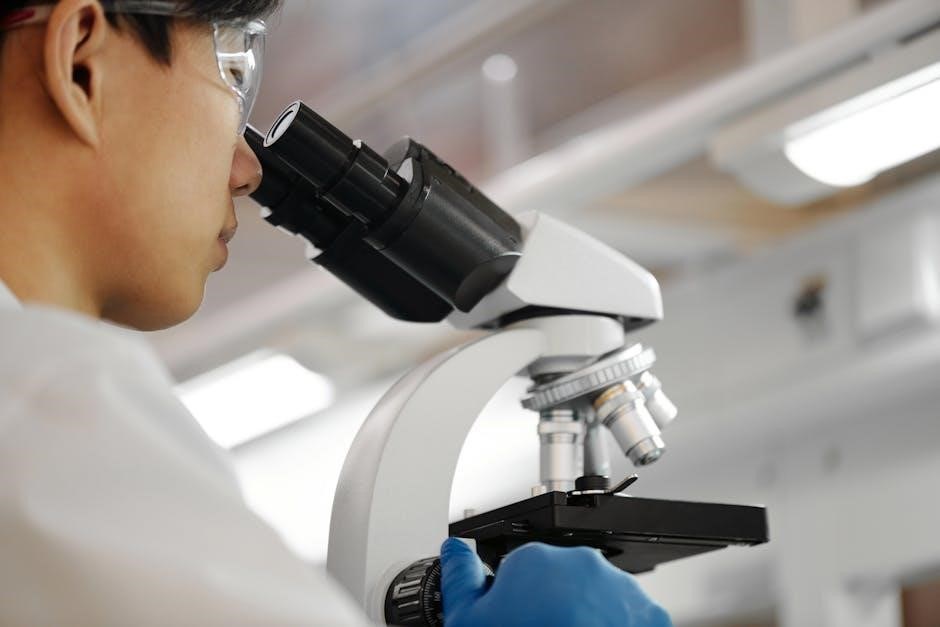
The eyepiece, designated as component #1, is your viewing window into the microscopic world. It magnifies the image formed by the objective lenses, allowing you to observe specimens in detail. This Discovery Mindblown microscope set is designed with a single eyepiece for monocular viewing.
Proper use involves ensuring your eye is aligned with the eyepiece to obtain a clear image. Adjusting the focus knob (component #2) is crucial for achieving optimal clarity. The eyepiece doesn’t have adjustable diopters on this model, so focusing relies solely on the focus knob.
Maintaining a clean eyepiece is essential. Use a microfiber cloth to gently wipe away any dust or debris that may obstruct your view. Avoid using harsh chemicals or abrasive materials, as these can damage the lens coating. A clear eyepiece ensures a sharp and detailed observation experience, maximizing the potential of your microscope.
Focus Knob Operation
Component #2, the focus knob, is central to achieving a clear image with your Discovery Mindblown microscope. It controls the distance between the objective lens and the specimen, allowing for precise adjustments to bring details into sharp focus. Rotating the knob raises or lowers the stage, and therefore the slide.
Begin with the lowest magnification objective (5x) and slowly turn the focus knob until the image appears as sharp as possible. As you increase magnification using the objective turret (component #7), you’ll likely need to re-adjust the focus.
Avoid forcing the knob; smooth, gradual adjustments are key. The instructions emphasize only raising and lowering the stage using this knob. Proper focus is crucial for observing intricate cellular structures and details. Consistent practice will help you master this essential skill for successful microscopic exploration.
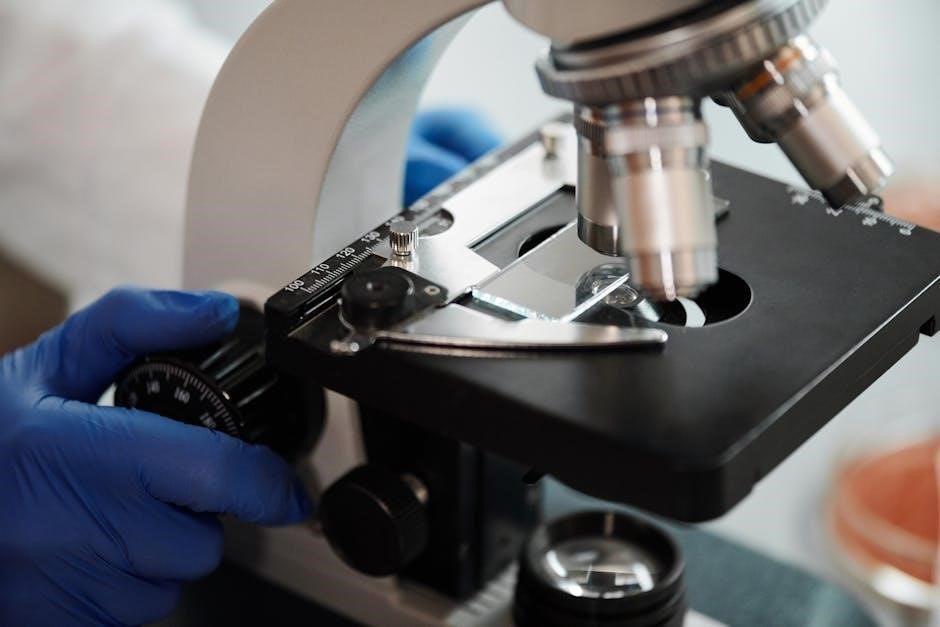
Stage Adjustment and Use
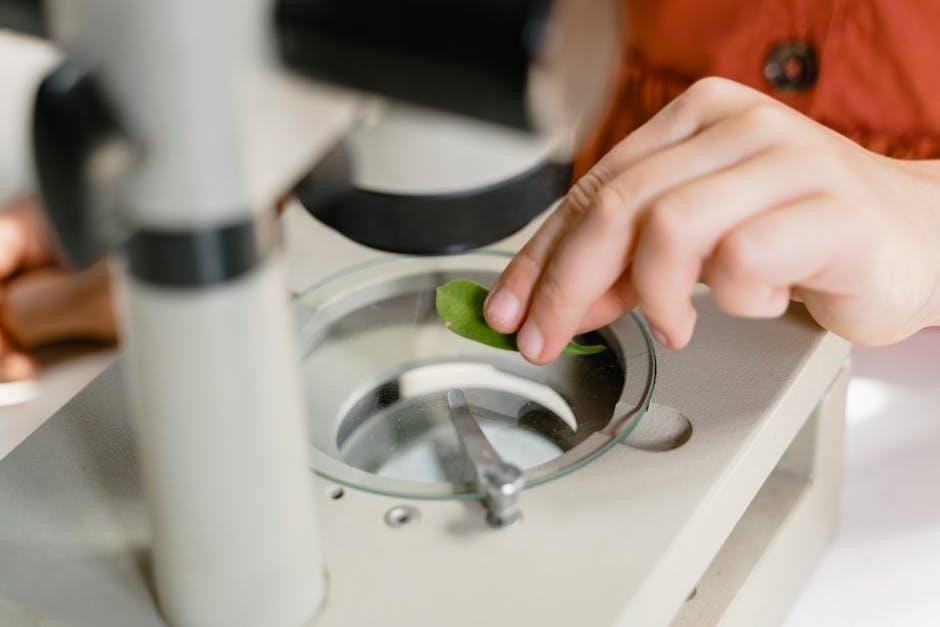
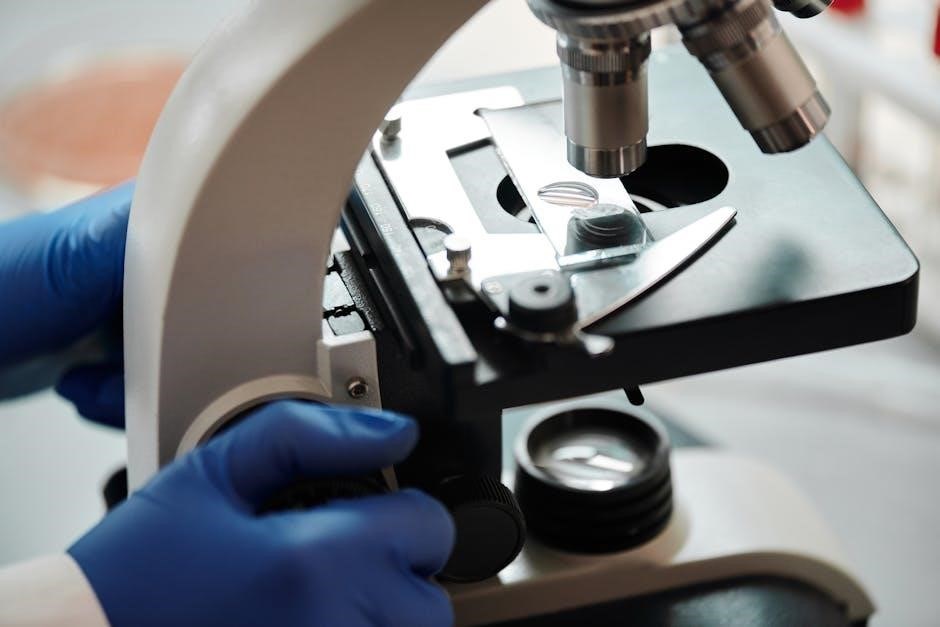
The stage (component #3) is the platform where you place your slides for observation. It’s designed to hold the specimen securely in the path of the light and objective lenses. Careful use of the stage ensures stable viewing and accurate sample positioning.
Before placing a slide, ensure the stage is clean and free of dust or oil – gently wipe it with a microfiber cloth. Once the slide is positioned, utilize the metal stage clips (component #4) to firmly secure it, preventing unwanted movement during observation.
The stage is moved vertically via the focus knob (component #2), allowing you to scan across the specimen. Remember to adjust the focus after any stage movement to maintain a clear image. Proper stage adjustment is fundamental for detailed microscopic examination.
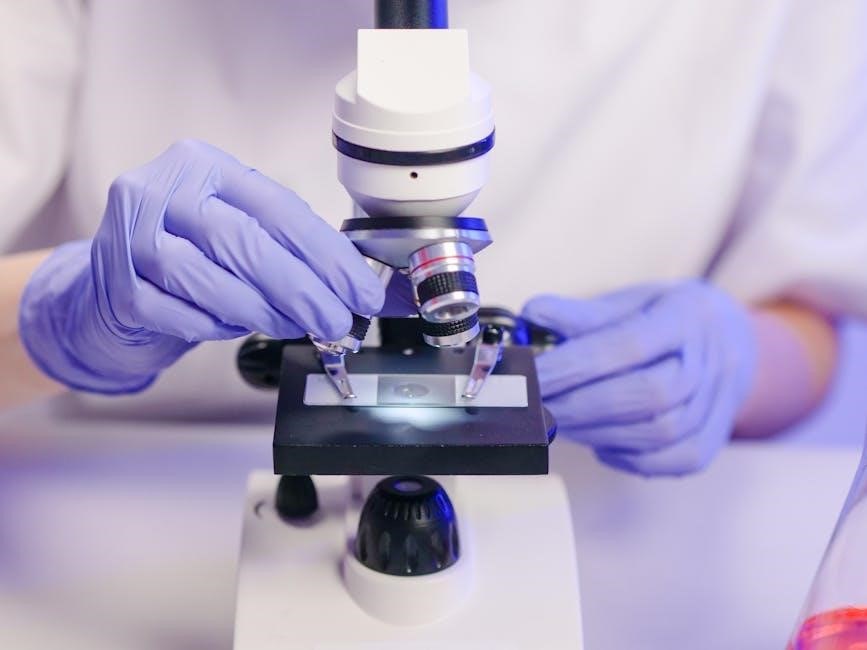
Metal Stage Clips – Securing Slides
The metal stage clips (component #4) are essential for holding slides firmly in place on the microscope stage (component #3). These clips prevent the slide from shifting during observation, ensuring a stable and focused view of your specimen.
To use the stage clips, gently open them by pressing outwards. Carefully position your prepared or blank slide onto the stage, then release the clips to secure it. Ensure the slide is held snugly, but avoid excessive force that could damage the slide or the microscope.
Properly secured slides are crucial for clear and accurate microscopic viewing. Always double-check that the slide is firmly held before beginning your observation, and readjust if necessary. These clips contribute significantly to a successful microscopic experience.
Colour Filter Wheel – Enhancing Visibility
The colour filter wheel (component #5), located beneath the microscope stage, significantly enhances image clarity and contrast. This feature allows you to optimize your viewing experience based on the specimen being observed.
Rotating the wheel reveals a selection of coloured filters. These filters work by selectively transmitting certain wavelengths of light while blocking others. Different specimens respond better to different colours. For example, a blue filter can highlight cellular structures, while a yellow filter may improve contrast for stained samples.
Experiment with each filter to determine which provides the clearest and most detailed image for your specific slide. The filters aid in observing details that might otherwise be difficult to discern, improving the overall quality of your microscopic investigations.
Objective Lens Overview
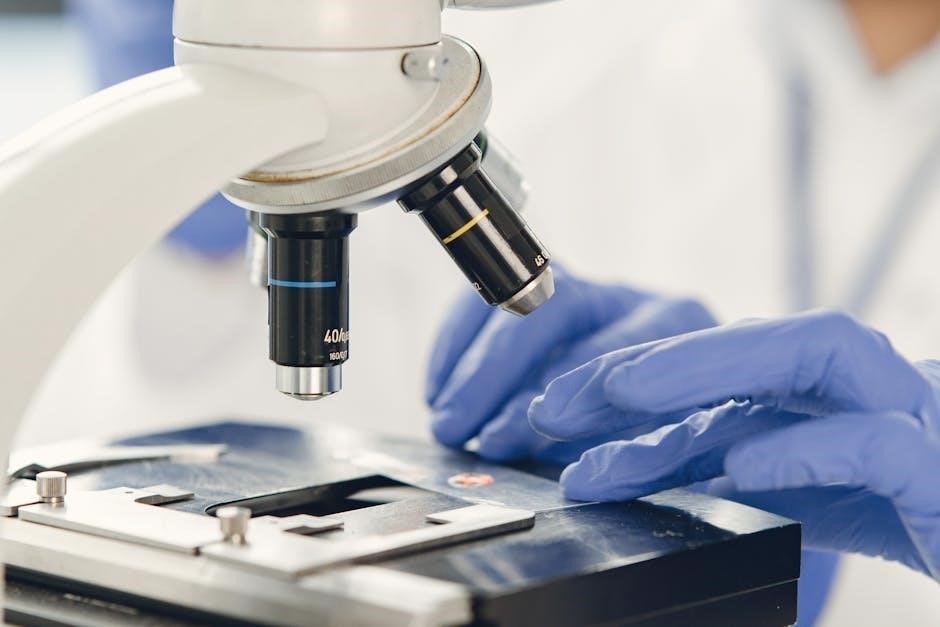
The objective lenses (component #6) are crucial for magnification, directly impacting the level of detail visible in your specimens. This Discovery Mindblown microscope set features multiple objective lenses, offering varying magnification powers.
These lenses gather light from the sample and create a magnified image. The quality of the objective lens significantly influences the clarity and resolution of the observed image. Higher magnification doesn’t always equate to a better view; proper illumination and focus are also essential.
The set includes objective lenses with 5x, 20x, and 45x magnification. Starting with the lowest magnification (5x) allows for easy sample location, then progressively increasing magnification reveals finer details. Remember to refocus after switching between objectives for a sharp image.
Objective Turret – Magnification Selection (5x, 20x, 45x)
The objective turret (component #7) is the rotating mechanism housing the objective lenses, enabling easy magnification switching. Carefully rotate the turret to align the desired objective lens – 5x, 20x, or 45x – with the light path.
Each objective provides a different level of magnification. The 5x lens offers a wider field of view, ideal for initial sample observation. The 20x lens provides moderate magnification, revealing more detail. Finally, the 45x lens delivers the highest magnification, allowing for close examination of specimen structures.
Important: After rotating to a new objective, always readjust the focus knob (component #2) to achieve a clear image. The working distance – the space between the objective lens and the slide – decreases with higher magnification, so gentle adjustments are key.
Illumination Switch & Mirror – Light Control
The illumination system, comprised of the on/off switch and mirror (component #8), is crucial for visualizing specimens. Locate the switch on the base of the microscope and flip it to the “on” position to activate the incandescent light source, illuminating the sample from below.
The mirror directs light upwards through the stage and specimen. Ensure the mirror is properly aligned to maximize brightness and clarity. Adjusting the mirror’s angle can fine-tune the illumination, compensating for varying ambient light conditions.
Rubber Base & Battery Case – Stability & Power
The rubber base (component #9) provides a stable foundation for the microscope, minimizing vibrations during observation. This is essential for clear image viewing, particularly at higher magnifications. Ensure the microscope is placed on a firm, level surface before use.
The base also houses the battery case. Important: This microscope does not include batteries and requires 2 x 1.5V batteries for operation (batteries not included). When installing batteries, observe correct polarity – do not mix old and new batteries, or alkaline, standard, or rechargeable types.
Proper battery installation ensures consistent illumination. Regularly check battery levels to maintain optimal performance. A stable base and reliable power source are fundamental for successful microscopic exploration.
Microscope Arm – Proper Handling
The microscope arm (component #10) is the primary structural support and designated carrying point for the instrument. Always use the arm and base when moving the microscope to ensure stability and prevent damage to delicate components.
Avoid lifting or carrying the microscope by the objective turret or other protruding parts. A firm grip on the arm, combined with supporting the base, distributes the weight evenly and minimizes stress on internal mechanisms.
Careful handling is crucial to prolong the life of your Discovery Mindblown microscope. Gently support the arm during transport and avoid sudden movements or impacts. Proper handling ensures accurate observations and years of scientific exploration.

Included Accessories & Their Uses
The set includes prepared and blank slides, covers, vials, a test tube, petri dish, and tools. These accessories facilitate specimen preparation, observation, and experimentation.
Prepared & Blank Slides – Observation & Creation
The Discovery Mindblown microscope set provides both prepared slides and blank slides, offering immediate observation opportunities and encouraging hands-on specimen creation. The five prepared slides showcase pre-mounted specimens, allowing beginners to quickly explore diverse microscopic structures without initial preparation. These are excellent starting points for learning about cells, tissues, and various organisms.
The seven blank slides empower users to collect and prepare their own samples. This fosters scientific inquiry and allows for the examination of personally gathered materials. When creating your own slides, carefully place the specimen on the blank slide and gently lower a coverslip over it to protect both the specimen and the objective lens. Proper slide preparation is crucial for clear and detailed observations. Remember to label your slides for easy identification and record-keeping. The included slide case provides safe storage for both prepared and user-created slides, preventing breakage and maintaining organization.
Slide Covers/Labels – Protecting & Identifying Specimens
The eight slide covers and labels included with the Discovery Mindblown microscope set are essential for both protecting your specimens and maintaining organized observations. Slide covers are thin, transparent squares placed over the sample on a slide. They serve a dual purpose: preventing the objective lens from directly contacting the specimen – which could cause damage – and flattening the sample for optimal viewing clarity.
The labels are crucial for accurate identification and documentation. When preparing your own slides, clearly label each one with the specimen’s name, date of collection, and any relevant notes. This practice is fundamental to scientific methodology, allowing for easy reference and comparison of observations. Affix the labels securely to the slide edges, ensuring they don’t obstruct the viewing area. Proper labeling prevents confusion and facilitates a well-documented microscopic journey, enhancing the learning experience and promoting good scientific habits.
Collection Vials – Sample Gathering
The Discovery Mindblown microscope set includes three collection vials, specifically designed for gathering and temporarily storing specimens from your surroundings. These small, durable containers are ideal for collecting tiny samples like pond water, plant fragments, or soil particles for microscopic examination. When collecting, ensure the vial is clean and dry to avoid contamination of your sample.
Carefully gather your specimen, minimizing the inclusion of unwanted debris. Seal the vial tightly to prevent spillage during transport to your observation area. Remember that these vials are for temporary storage only; prepare your slides promptly to maintain the specimen’s integrity. The vials’ clear construction allows for preliminary observation before slide preparation. They are a vital tool for budding scientists, encouraging exploration and hands-on learning, bridging the gap between the macroscopic world and the microscopic realm.
Test Tube – Experimentation
The included test tube expands the experimental possibilities with your Discovery Mindblown microscope set, allowing for simple chemical reactions and sample mixing. This durable, transparent tube is perfect for observing how different substances interact under magnification. It’s crucial to use the test tube with adult supervision, especially when handling liquids or performing any mixing.
Before use, ensure the test tube is clean and dry. You can use it to dissolve small amounts of substances in water, creating solutions for observation. Always add liquids slowly and carefully to avoid spills. Remember, the test tube is not designed for heating or strong chemical reactions. It’s primarily intended for safe, introductory experimentation. This component fosters scientific inquiry, encouraging young learners to explore basic chemistry and observe the resulting changes under the microscope, enhancing their understanding of the microscopic world.
Petri Dish – Culturing & Observation
The Petri dish, a fundamental tool in microbiology, enables the fascinating process of culturing and observing microscopic organisms with your Discovery Mindblown microscope set. This shallow, transparent dish provides a controlled environment for growing samples like mold or bacteria, allowing for detailed examination under magnification. Adult supervision is absolutely essential when working with cultures, emphasizing proper handling and disposal procedures.
To use the Petri dish, carefully introduce a small sample onto the surface. Keep the dish sealed to prevent contamination and observe changes over time; Remember that culturing takes time and requires a stable environment. The Petri dish isn’t just for culturing; it’s also ideal for observing small, non-living specimens like pollen or dust particles. This component promotes hands-on learning, fostering an appreciation for the unseen world and the principles of biological observation.
Tools: Tweezers, Scalpel, Pipette, Stirring Rod, Spatula – Manipulation & Preparation
The Discovery Mindblown microscope set includes a suite of precision tools – tweezers, scalpel, pipette, stirring rod, and spatula – designed for careful specimen manipulation and preparation. These instruments are crucial for mounting slides, collecting samples, and creating optimal viewing conditions. Extreme caution is required when using the scalpel; adult supervision is mandatory.
Tweezers aid in precisely positioning specimens on slides, while the pipette allows for controlled liquid transfer; The stirring rod assists in mixing solutions, and the spatula is useful for scooping small amounts of material. The scalpel, used with utmost care, can prepare thin sections for observation. These tools empower young scientists to actively engage with the scientific process, fostering dexterity and attention to detail. Proper handling and cleaning of these tools are essential for maintaining their functionality and ensuring safe experimentation.
Setting Up and Operating the Microscope
Ensure a stable surface, hold the arm and base when moving, and verify illumination. Gently clean lenses and only adjust the stage using the focus knob.
Preparing the Microscope for Use – Stability & Cleaning
Prior to commencing observation, establishing a stable and vibration-free surface is paramount. The microscope should be positioned on a solid table, desk, or countertop to ensure clear and focused images. Avoid surfaces prone to movement or shaking, as these can significantly hinder the viewing experience.
When relocation is necessary, always grasp the microscope firmly by the arm and the base. This provides a secure hold and prevents accidental drops or damage to delicate components. Carefully lift and transfer the microscope to its new location, maintaining a controlled and steady motion.
Following placement, verify the functionality of the illumination system. Ensure the light source is operational and provides adequate brightness for specimen observation. Crucially, maintain lens cleanliness. Utilize a soft, microfiber cleaning cloth to gently wipe away any dust, fingerprints, or smudges from the lenses. If the stage exhibits dirt or oil residue, carefully clean it with an appropriate cleaning solution. Remember to exclusively adjust the stage height using the focus adjustment knob, avoiding manual manipulation.
Operating the Illumination System – Light Source Activation
The Discovery Mindblown microscope utilizes an incandescent light source positioned beneath the stage to illuminate specimens; Activation is straightforward: locate the mirror/light assembly on the base of the microscope. This component serves as the primary switch for the illumination system.
To activate the light, simply flip the mirror/light to the “on” position, ensuring the reflective surface faces upwards. This directs the light beam through the stage, providing the necessary illumination for viewing. The intensity of the light can be adjusted by controlling the distance or angle of the mirror, allowing for optimal brightness based on the specimen and surrounding lighting conditions.
Remember that this microscope does not require external power; it operates on batteries. Ensure batteries are correctly installed in the battery case located within the rubber base. Proper battery installation is crucial for consistent and reliable illumination. The colour filter wheel, positioned centrally on the stage, further enhances image clarity, as detailed in the following section.
Using the Colour Filters – Optimizing Image Clarity
The Discovery Mindblown microscope features a colour filter wheel located in the centre of the microscope stage, designed to enhance image clarity and contrast. This wheel contains a selection of coloured filters that can be rotated into the light path to improve specimen visibility.
Each colour filter selectively transmits certain wavelengths of light while absorbing others. This process can highlight specific structures within the specimen, making them easier to observe. For example, a blue filter can enhance the visibility of cellular details, while a yellow filter may improve contrast for stained samples.
To utilize the colour filters, simply rotate the wheel until the desired colour is aligned with the light path. Experiment with different filters to determine which provides the best image quality for your specific specimen. Proper filter selection can significantly improve the viewing experience, especially when examining transparent or lightly coloured samples. Remember to adjust the illumination alongside filter use for optimal results.
Magnification Adjustment – Selecting the Right Objective
The Discovery Mindblown microscope offers three magnification levels – 5x, 20x, and 45x – selectable via the objective turret. This turret allows you to easily switch between objectives to view specimens at different levels of detail.
To change magnification, rotate the objective turret until the desired objective lens clicks into place. Start with the lowest magnification (5x) to locate your specimen, then gradually increase magnification as needed. Remember that higher magnification reduces the field of view, meaning you’ll see a smaller area of the slide.
Always refocus after changing objectives. Use the focus knob to achieve a sharp image at each magnification level. Be gentle when rotating the turret and ensure it’s securely locked into position before observation. Proper magnification selection is crucial for detailed examination and understanding of microscopic structures.
Troubleshooting & Maintenance
If the image is blurry, ensure proper focusing using the focus knob and select the appropriate objective lens. Clean the lenses with a microfiber cloth to remove dust or oil, as this significantly impacts clarity. If the illumination isn’t working, check the battery installation and the mirror/light switch position – ensure it’s flipped “on”.
For stable operation, always place the microscope on a firm, vibration-free surface. Avoid forceful movements when adjusting components. Regularly inspect the stage for debris and clean it gently. Do not disassemble the microscope beyond the recommended cleaning procedures.
Store the microscope in a dry, dust-free environment when not in use. Replace batteries as needed to maintain consistent illumination. Proper maintenance extends the lifespan and ensures optimal performance of your Discovery Mindblown microscope set.